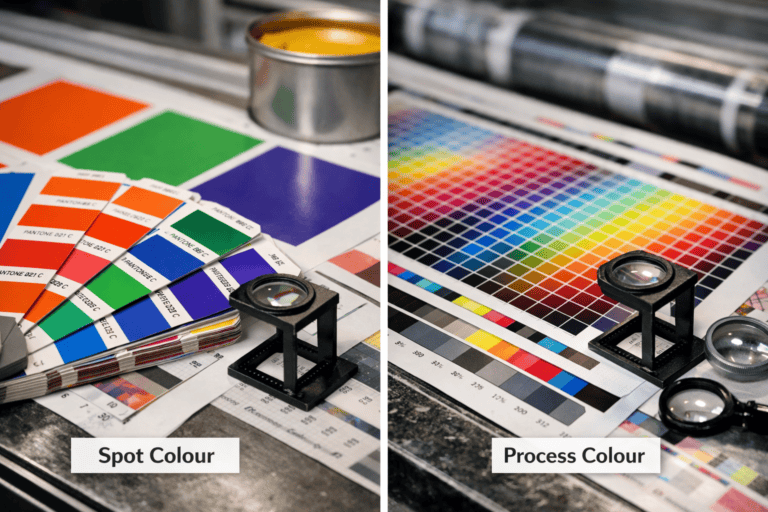
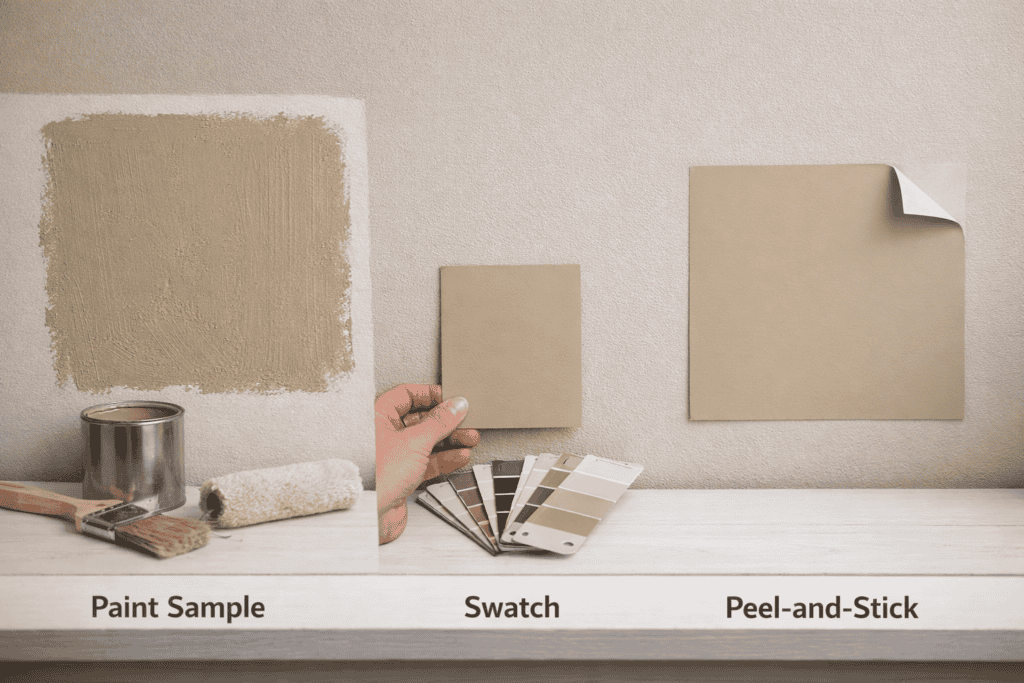
Paint samples applied to the wall usually give the most accurate view of colour in a room because they show real paint, sheen, and drying behaviour under your lighting. Swatches and peel-and-stick samples can match the pigment closely, but they do not replicate how a wet film levels, cures, and reflects light on your surface.
This article compares accuracy across methods, explains how lighting and sheen shift colour, and outlines when each sampling option works best. It also covers common causes of mismatch, including substrate colour, texture, and batch variation.
Key takeaways
- Paint samples give the most accurate finish, since they use the real paint.
- Swatches help narrow choices fast, but they cannot match sheen or texture.
- Peel-and-stick samples reduce mess, but colour can shift with vinyl and lighting.
- Test colours on multiple walls to catch changes from daylight and artificial light.
- Compare samples next to fixed finishes like flooring, tiles, and worktops.
- View samples at different times of day before choosing a final colour.
How light, sheen, and surface texture change perceived paint colour
Test your colour sample on the exact wall and view it in morning, midday, and evening light before choosing a paint. Light changes the colour temperature and intensity hitting the surface, so the same pigment can read warmer, cooler, lighter, or duller across the day.
North-facing rooms often push colours towards cooler, greyer notes, while strong south or west light can make warm tones look more saturated. Artificial lighting adds another shift: warm LEDs (lower Kelvin) can yellow whites and soften blues, while cool LEDs can flatten creams and make greys look bluer. If you want a consistent check, compare under the bulbs you will keep, not temporary work lights.
Sheen changes colour by changing reflectance. Matte finishes scatter light and can make deeper colours look richer but slightly darker. Satin and semi-gloss reflect more light, which can brighten the colour and highlight undertones, especially near windows or under spotlights. The same colour code can look different between a flat ceiling paint and a washable wall finish.
Surface texture changes perceived depth and uniformity. Orange peel, heavy roller stipple, and patched filler create micro-shadows that darken the apparent colour and make it look less even. Prime repaired areas and sand ridges so the sample reflects the final wall, not the prep work.
Paint swatches: when they match well, and where they mislead
A swatch can look like a close match in the shop, then read off once it sits next to fixed finishes at home.
Use swatches to narrow your shortlist, then confirm the final choice with a painted sample on the actual wall. Swatches are fast and flexible: compare dozens side by side, spot undertones, and rule out shades that clash with flooring, worktops, or tiles.
Swatches can mislead when paper stock, ink, and scale differ from real paint. Small chips exaggerate contrast, so a colour can look lighter than it will across a full wall. Fan decks can vary between print runs, and older decks fade.
- Hold the swatch against the finish it must match (skirting, cabinetry, tile) to judge undertone, not brightness.
- Compare two near-neighbours at once; single swatches hide subtle shifts in warmth.
- Replace worn fan decks; request fresh chips from the retailer when possible.
Peel-and-stick sheets help when you need a larger, movable patch, but they still cannot match your wall’s porosity and texture.
Paint samples (test pots): accuracy limits from application method, film build, and dry-down
Most “wrong colour” results come from the test patch, not the formula: roller nap, brush marks, and uneven coats change the paint film and how light reflects.
For the closest read, apply the test pot with the same tools, substrate, and primer. Build an even film with two coats at the intended spread rate, letting each coat dry fully. Many paints also dry down as water and solvents leave the film, so colour and sheen can settle over 24–48 hours; Dulux notes this effect.
Match method and film build for the most accurate view of undertone and sheen. Skip those controls and the sample can look darker, patchier, or glossier than the finished job.
Peel-and-stick samples: substrate, adhesive, and edge effects that affect colour match
Peel-and-stick samples can shift colour because the vinyl (or fabric) substrate and pressure-sensitive adhesive reflect light differently from paint on plaster.
Place the sample on a clean, dry, matt area, then press from the centre out to remove air pockets. Keep it at least 50 mm from corners, trims, and shadow lines, and check it under normal lighting at the times you use the room. If the wall has texture or patch repairs, stick the sample to primed lining paper and tape it to the wall.
Avoid judging colour on freshly painted, dusty, or damp surfaces, reusing a sample after several removals, or placing it where edge shadows or the white border skew the result.
Accuracy checklist: how to test colour at home and choose the right sampling method
Accurate colour testing reduces surprise shifts once the full wall is painted, especially around undertones and depth. Start with a painted sample on the actual wall, because it matches the real paint film, sheen, and dry-down better than paper or vinyl. Paint a large area (at least 300 mm square) with two even coats, let it cure fully, then view it under the room’s normal lamps and daylight at different times.
Use peel-and-stick samples to confirm placement and adjacency when painting is not possible, but treat them as a directional check rather than a final match. Keep the sample flat, away from corners and trims, and avoid textured or recently patched areas that create edge shadows. Use store swatches only to shortlist candidates, then validate the finalists with paint on the wall.
Before committing, compare the test area beside fixed finishes (flooring, tiles, worktops) and check it from 1–2 metres away, since colour reads differently at distance than up close.
Frequently Asked Questions
How does lighting type and direction affect the accuracy of paint samples, swatches, and peel-and-stick tests?
Lighting can shift colour, value, and undertone, so a sample that matches in one spot can look wrong elsewhere. Warm bulbs push paint towards yellow or red; cool LEDs and north light can pull it blue or grey. Direction matters: raking side light highlights texture and sheen, while backlighting deepens colour. Test on the target wall at several times.
Which colour sampling method best reveals undertones and metamerism across different rooms?
Undertones and metamerism show up when the same colour shifts under different light sources. A painted sample (two coats on a large card or directly on the wall) reveals them best because it matches real texture, sheen, and edge conditions. Move the sample between rooms and check it in daylight, warm LEDs, and evening light.
How closely do peel-and-stick paint samples match the final paint finish and sheen on a wall?
Use peel-and-stick samples to judge colour shift and undertone, then confirm with a small painted test for sheen. The printed film often matches hue well, but it cannot replicate how liquid paint levels, reflects light, or shows texture. Sheen and depth can look different once paint dries on your wall.
When does a printed swatch become unreliable compared with a real paint sample on the actual surface?
When the surface texture or sheen will affect how light hits the colour, a printed swatch becomes unreliable. Paper cannot mimic absorption, roller marks, or the final gloss level, so the colour can shift once painted. Strong daylight, warm LEDs, and nearby colours can also change how the swatch reads.
What is the most accurate way to compare multiple colours side by side without repainting large areas?
Use at least 3–5 peel-and-stick samples on the same wall, spaced a few centimetres apart. This gives the cleanest side-by-side comparison without repainting, because each colour sits on the same surface and light. Move the sheets between walls and check them in morning, afternoon, and evening light.